Mobile Touch Swipe Indicator
June 25, 2020
ISSUE
- 캐러셀 UI에서 20개의 item을 보여야함
-
추가적인 item은 오른쪽 스와이핑 액션을 통해 해당 페이지로 넘어가야함
-
touchmove(스와이핑)이벤트가 발생해는 x값에 따라 퍼센테이지를 UI로 제공

해결 방안
- item의 개수가 20개 이상일 때에만 swipe indicator를 보여주기 위한 filtering을 한다.
ngAfterViewInit() {
    this._sub.push(
      this.result$.pipe(
        tap(result => this.result = result),
        filter((result) => result && result.total > result.listNum),
        switchMap(() => this.swipeToSeeMore())
      ).subscribe()
    );
}touchmoveevent를 감지해서 스크롤이 끝에 도달할 경우 이벤트를 전파한다.- 끝에 도달할 경우, touchStartX시점에서 touchmove의 이동량을 계산하여 xDiff(스크롤 이동량)을 계산한다.
- 디바이스 화면의 40%만큼 스크롤된 값 즉, xThreshold을 저장한다.(40%의 수치를 100%로 환산) => 40%이상 스크롤될 때 원하는 다음 동작을 실행
- 스크롤된 값에서 xThreshold값을 나누어 percentage값을 저장
- 40%이상의 스크롤 이후
touchend이벤트가 발생하면 원하는 주소로 이동한다. - 40%이하의 스크롤 이후
touchend이벤트가 발생하면translateX값 및strokeDasharray값을 초기화한다.
private swipeToSeeMore() {
    const element = this.elementRef.nativeElement;
    const circle = this.circle.nativeElement;
    let reqId, percentage, touchStartX;

    return combineLatest([
      fromEvent(element, 'touchmove', { passive: true }).pipe(
        filter(() => {
          const { scrollWidth, scrollLeft, clientWidth } = element;
          return scrollWidth - scrollLeft - clientWidth <= 0;
        }),
        map((touchMove: TouchEvent) => touchMove.changedTouches[0].clientX),
        tap((x) => touchStartX = touchStartX || x),
        tap((x) => {
          // 디바이스 가로폭 40%까지만 swipe 하면 100%
          const xThreshold = element.clientWidth * 0.4;
          const xDiff = touchStartX - x;
          percentage = Math.min(xDiff, xThreshold) / xThreshold;
          reqId = cancelAndRequestAnimationFrame(reqId, () => {
						// transform을 이용해 안드로이드 디바이스에서도 스와이핑이 되게 구현
            element.style.transform = `translateX(-${xDiff / 2}px)`;
            circle.style.strokeDasharray = `${Math.round(percentage * 100)}, 100`;
          });
        })
      ),
      fromEvent(element, 'touchend', { passive: true }).pipe(
        tap(() => {
          if (percentage >= 1) {
            this.router.navigate(this.navigateUrl);
          } else {
            reqId = cancelAndRequestAnimationFrame(reqId, () => {
              element.style.transform = `translateX(0px)`;
              circle.style.strokeDasharray = `0, 100`;
            });
          }
          touchStartX = 0;
        })
      )
    ]);
  };
이 밖에도 strokeDasharray, requestAnimationFrame 등 이 기능을 구현 및 최적화하기 위해 알아야할 지식들이 있다. 참고할 문서들이 많으니 링크로 남겨 놓겠다.
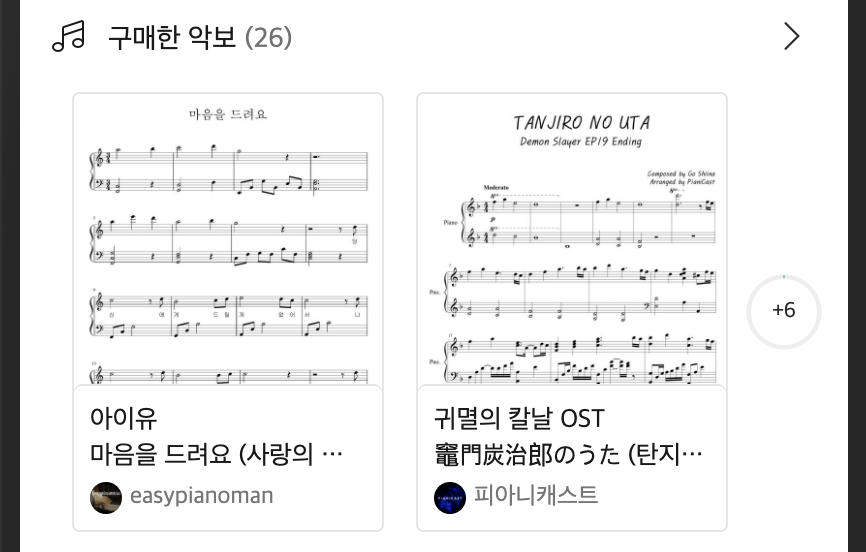
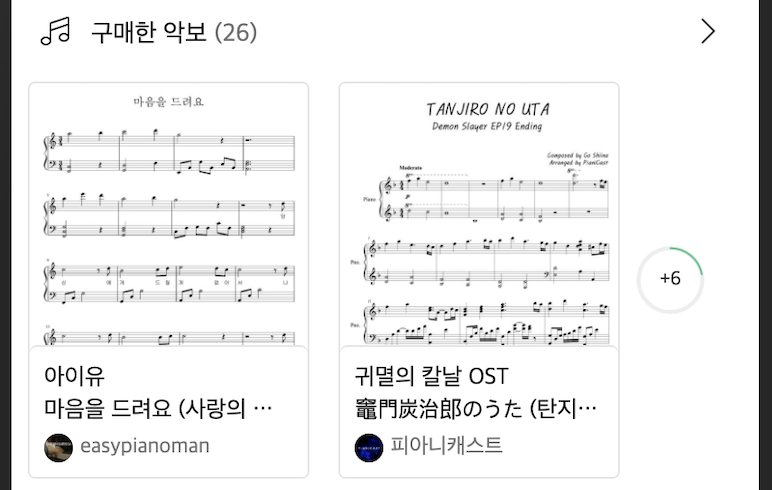
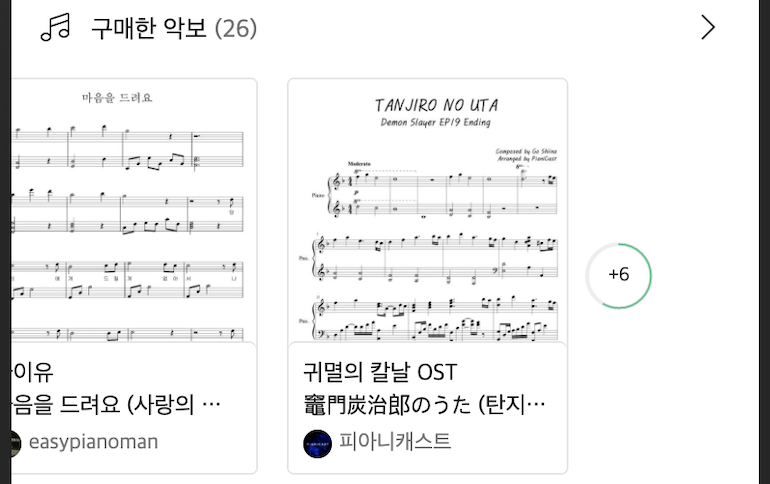
결과 화면
참고 및 출처
![[Ju Chan Hwang]](/static/834c8c2199bc201e56564b7b5af123a2/a12fc/profile.png)